Rooting an Android smartphone or tablet opens the door for more customization, performance tweaks and truly owning your device.
However, it can be sometimes daunting to find the method that works for your device. Thankfully, there’s a software called Kingo Root that works for most devices and is very easy to use.
What you need:
- Kingo Root Software
- Data Cable (USB to MicroUSB)
- Windows PC
- Your Unrooted Device
Disclaimer: I am not responsible if your device malfunctions after the following procedures. Do it at your own risk.
Procedures in Rooting with Kingo Root
Step 1. Download, install and run Kingo Root into your Windows PC.
Step 2. Enable USB Debugging on your phone or tablet. Go to Settings > Developer Options and check the USB Debugging option.
 |
| Enabling USB Debugging on your Android phone. |
Step 3. Connect your device to your PC using the data cable. Kingo Root should recognize it and start downloading PC drivers for the particular chipset of your device.

Step 4. After downloading the drivers, Kingro Root will show the orange ROOT button. Click it and it will start the process of rooting your device automatically.

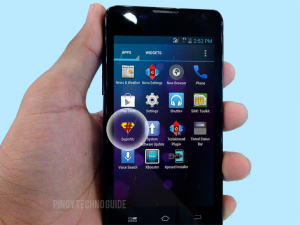
Step 5. After a few minutes, you should now have a rooted device! Reboot your phone or tablet and look for the Super User app in the drawer.

That’s how easy rooting an Android device is with Kingo Root. There are other methods out there but so far, this one is the easiest and safest I’ve encountered.